How to Replace a Turntable Cartridge
Replacing a turntable cartridge is a fundamental skill for any vinyl enthusiast. While the process may seem daunting, understanding how and why it’s done can help ensure optimal sound quality from your records.
Understanding the Basics
A turntable cartridge is crucial as it converts the mechanical vibrations from a record's grooves into electrical signals, which are then amplified to produce sound. According to industry experts, a well-maintained cartridge can significantly enhance the listening experience.
Many users report that replacing a cartridge can improve sound clarity and reduce distortion. Typical replacements occur every 500 to 1,000 hours of playback, but this may vary based on usage and cartridge type.
"A clean, well-functioning cartridge is essential for achieving the best possible sound from your vinyl records."
Tools You Will Need
Before beginning the replacement process, gather the following tools:
- Small screwdriver: Typically required to remove the old cartridge.
- Stylus force gauge: Helps ensure proper tracking force, which is vital for cartridge performance.
- Anti-static brush: Useful for cleaning the stylus and records.
- Hex wrench (if applicable): For specific models that require hex screws.
Step-by-Step Process
Follow these steps to replace your turntable cartridge effectively:
- Disconnect Your Turntable: Always unplug the turntable to avoid any electrical mishaps.
- Remove the Old Cartridge: Use the screwdriver to unscrew the mounting screws holding the old cartridge. Disconnect the wires gently to avoid damage.
- Connect the New Cartridge: Attach the new cartridge by connecting the wires (usually color-coded for easy identification). Then, secure it with screws.
- Adjust Tracking Force: Use the stylus force gauge to set the tracking force according to the cartridge specifications. This is crucial for optimal performance.
- Level the Tonearm: Ensure that the tonearm is level for the best sound quality. Most turntables have a leveling bubble to assist with this.
- Test Playback: Finally, test the turntable with a few records to ensure everything is functioning correctly.
Tips and Considerations
Replacing a turntable cartridge requires patience and attention to detail. Here are some important considerations:
- It may take some practice to achieve the correct tracking force and alignment, which can affect sound quality.
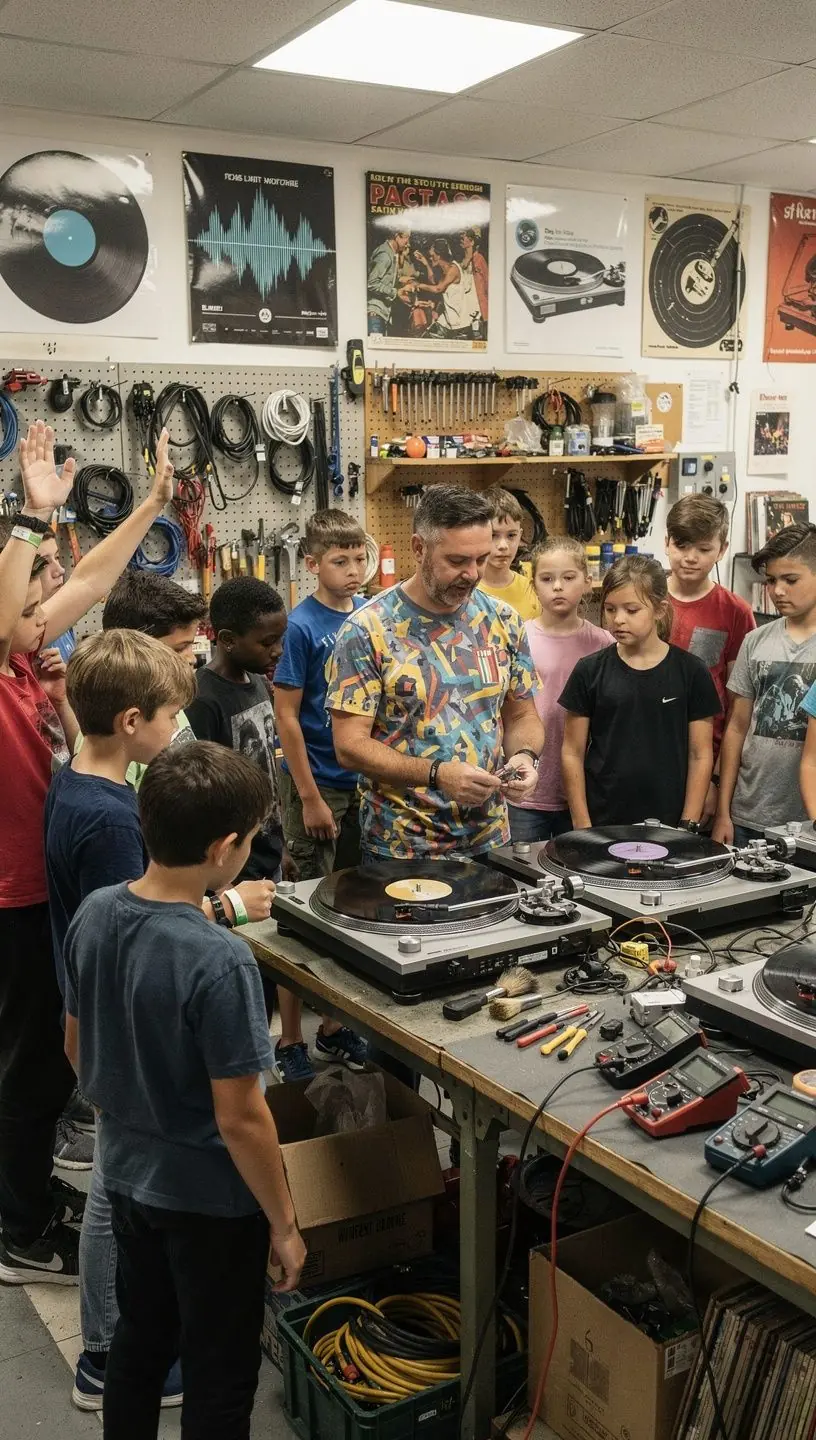
- If you're unsure about the process, many local audio repair shops offer workshops or professional installation services.
- Always refer to the manufacturer’s guidelines for your specific cartridge model and turntable.
Conclusion
Replacing a turntable cartridge can significantly enhance your vinyl listening experience. While the process might seem complex at first, following these steps can make it manageable. Remember to approach the task with care, and don't hesitate to seek professional help if needed. With the right tools and knowledge, you’ll be on your way to enjoying your favorite records with improved sound quality.
Learn More