A Practical Guide to Turntable Calibration
Correctly calibrating your turntable is essential for achieving optimal sound quality and preserving your vinyl collection. This guide will provide you with practical insights and methods to help you understand the calibration process and its importance.
Understanding the Basics of Turntable Calibration
Turntable calibration involves adjusting various components to ensure that the record player is operating at its best. According to industry experts, proper calibration can significantly enhance audio performance and extend the lifespan of your equipment. The process typically includes aligning the cartridge, adjusting tracking force, and setting anti-skate levels.

"A well-calibrated turntable can greatly improve sound quality and protect your vinyl investment." - Sound Quality Expert
The Importance of Calibration
Calibrating your turntable is crucial for several reasons:
- Sound Quality: Proper calibration ensures that the needle tracks the grooves accurately, which can lead to clearer sound reproduction.
- Record Preservation: When set correctly, calibration minimizes unnecessary wear on your vinyl records, extending their playability.
- Consistent Performance: Regular calibration helps maintain consistent playback, reducing distortion and other audio issues.
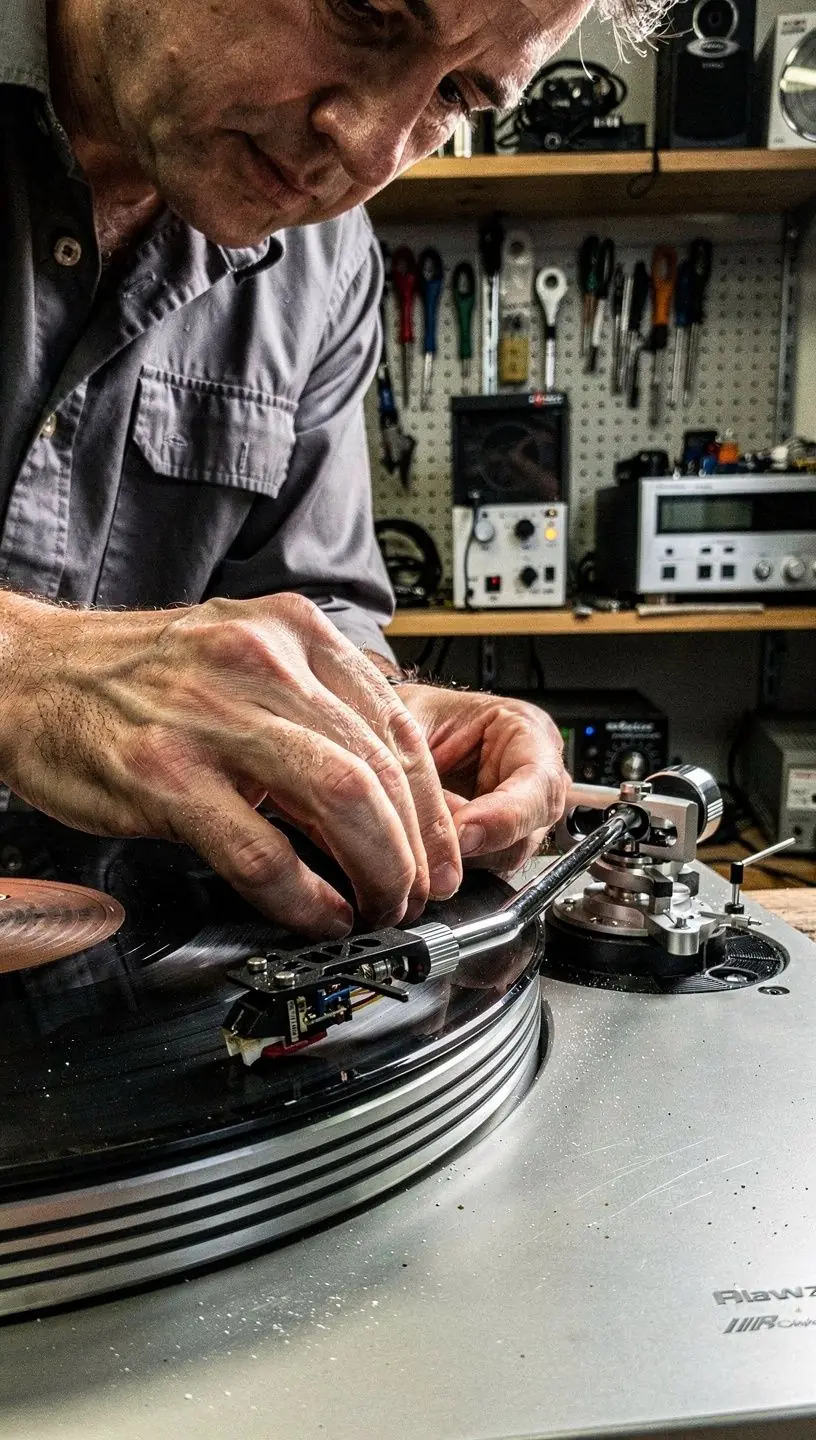
Step-by-Step Calibration Process
Calibrating your turntable typically involves the following steps:
- Gather Necessary Tools: You'll need a protractor for alignment, a scale for measuring tracking force, and a test record for checking sound quality.
- Set Up the Turntable: Ensure your turntable is placed on a stable surface, free from vibrations that can affect performance.
- Align the Cartridge: Use the protractor to adjust the cartridge so that it is aligned with the grooves of the record. This is crucial for accurate tracking.
- Adjust Tracking Force: Set the tracking force according to the cartridge's specifications. Many users report that an incorrect tracking force can lead to poor sound and damage to both the records and the stylus.
- Set Anti-Skate: This feature helps balance the inward pull of the stylus, reducing distortion. Most experts recommend setting it to the same value as the tracking force.
- Final Testing: Play a test record to evaluate the sound quality and make any final adjustments as needed.
Common Challenges and Limitations
While calibrating a turntable can yield significant benefits, it also requires some effort and understanding:
- Time Commitment: The calibration process can take anywhere from 30 minutes to over an hour, depending on your familiarity with the equipment.
- Learning Curve: For those new to turntables, there can be a steep learning curve. Taking the time to understand the components and their functions is essential.
- Tools Required: The process may require specific tools, which can add to the initial investment.
Conclusion
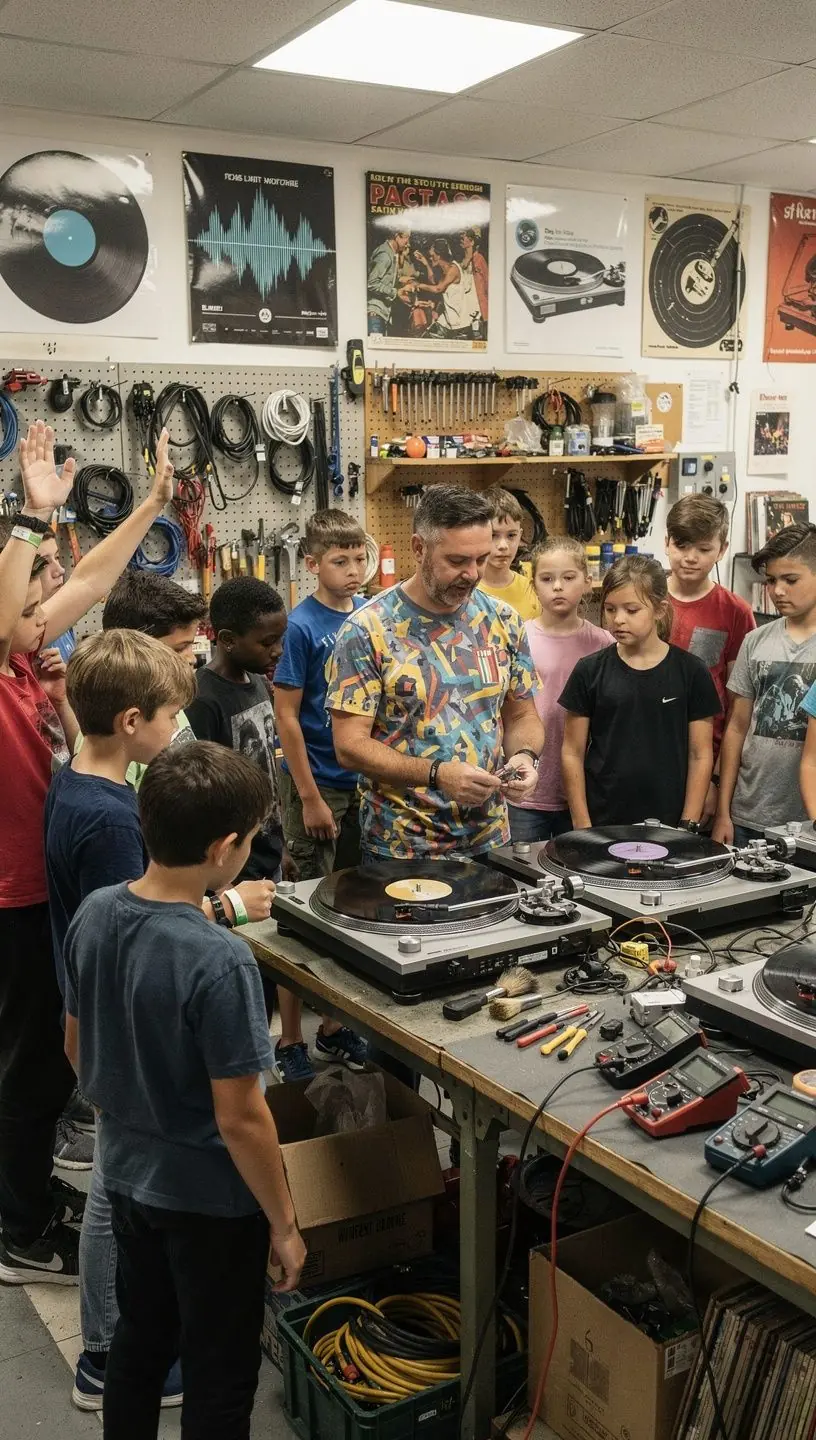
Calibrating your turntable is a valuable investment in your audio experience and the longevity of your vinyl collection. While the process may seem daunting, following these steps can help you achieve effective results. Remember that results typically improve with practice and familiarity with your equipment. If you're uncertain or prefer professional assistance, consider reaching out to a local vinyl workshop for diagnostics and restoration services.
By prioritizing calibration, you can enhance the sound quality and protect your treasured vinyl records for years to come.
Learn More